What the Job Involved
- Problem:
- Chimney leaked during heavy or prolonged rain, improper flashing at the base
- Work performed:
- Full flashing rebuild, new ice and water shield, custom-bent flashing, new shingles around the chimney
- Time on the roof:
- About four hours
- Cost:
- Around $1,500
- Warranty:
- 10 years
- Result:
- All leaks stopped immediately
How It Went
We don't have the before pictures on this one. Trust us, they were rough.
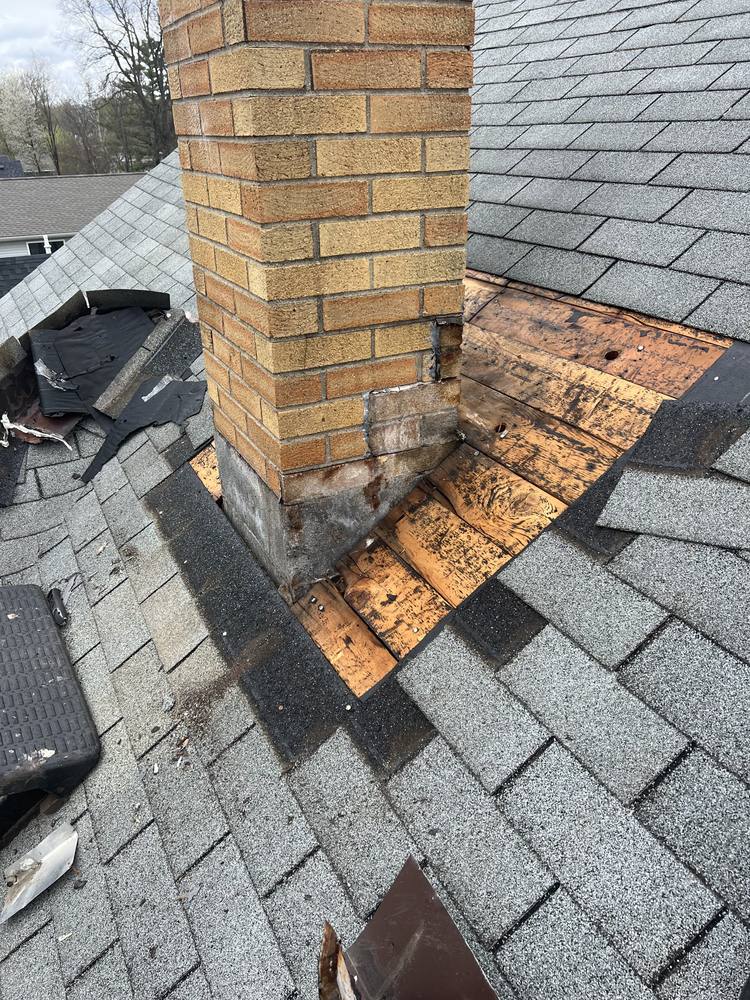
This chimney leaked every time it rained hard or rained long. The problem was the flashing at the base, which was never done right in the first place. Several other roofing companies had been up there before us, and every one of them left the same thing behind: another layer of sealant around the base. It never worked. Caulk holds a season or two, cracks in the freeze-thaw, and then the leak comes back worse because now water is getting in behind the patch.
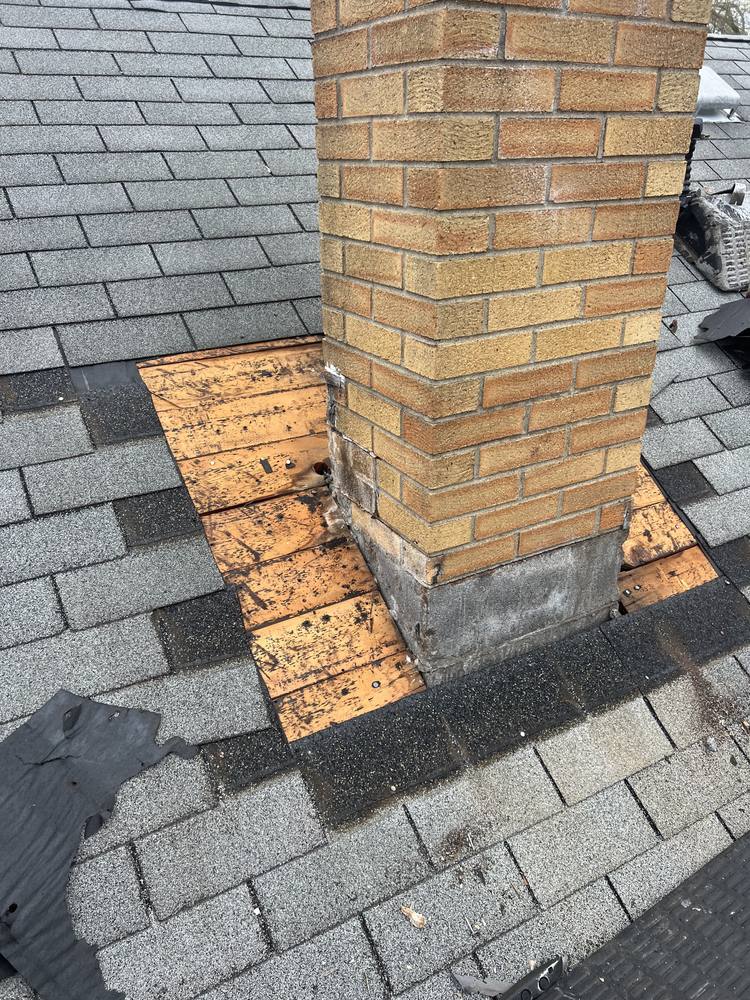
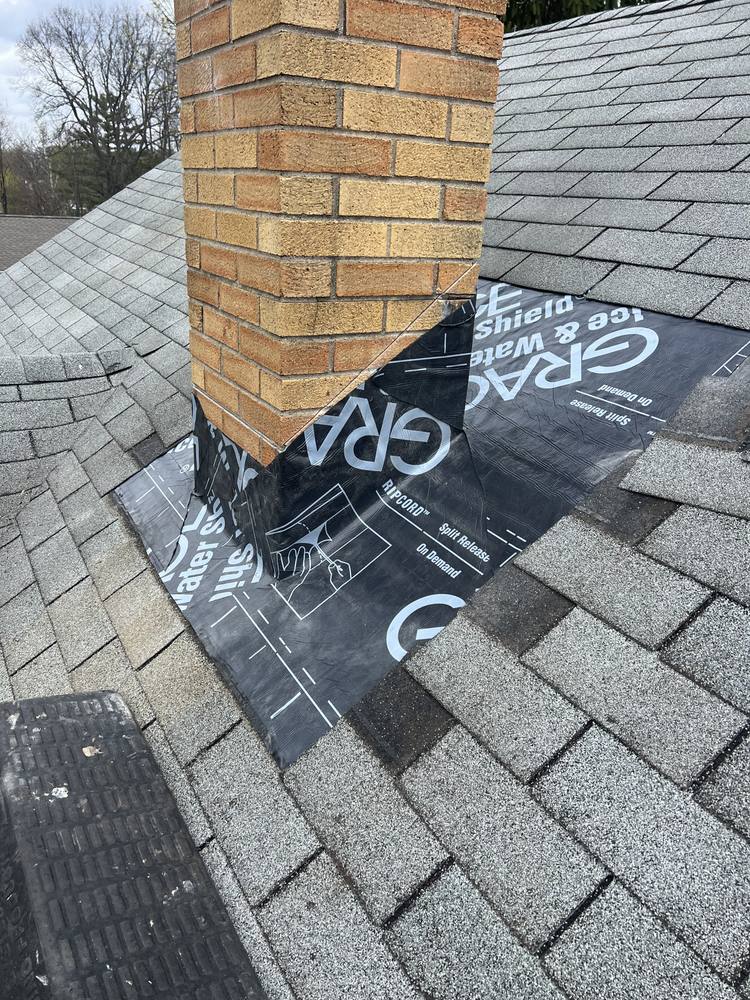
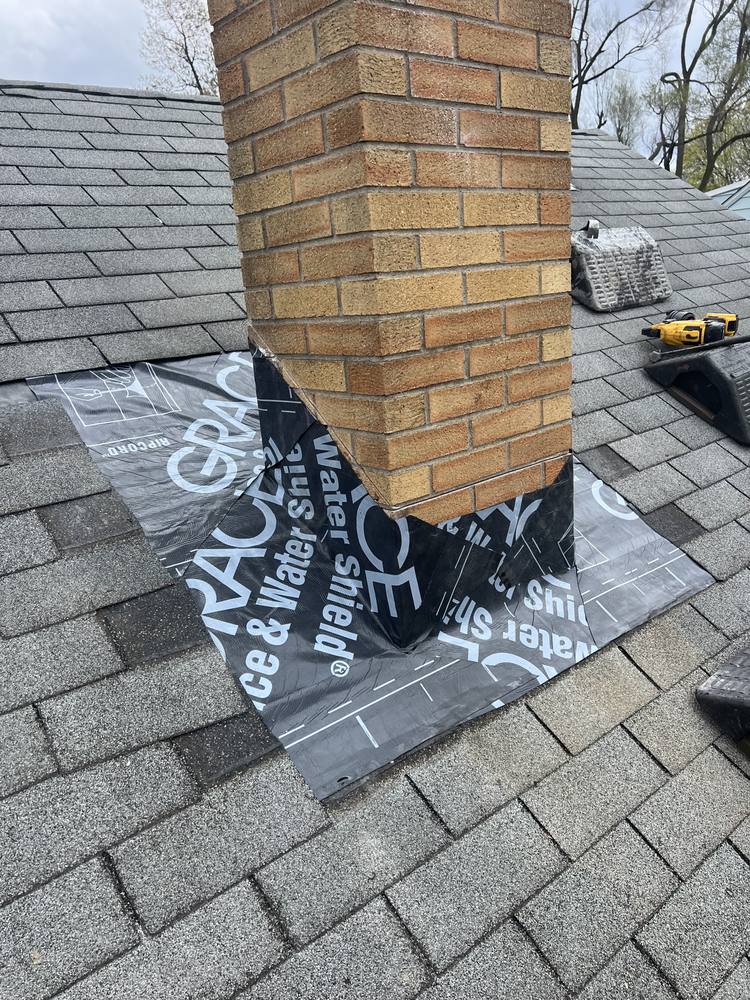
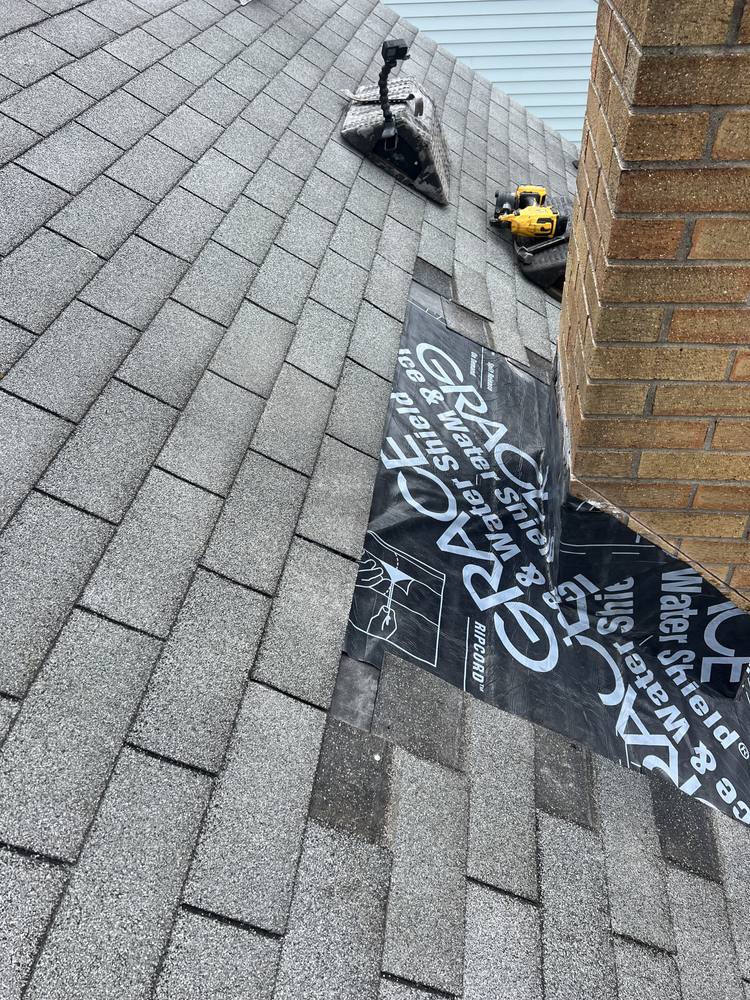
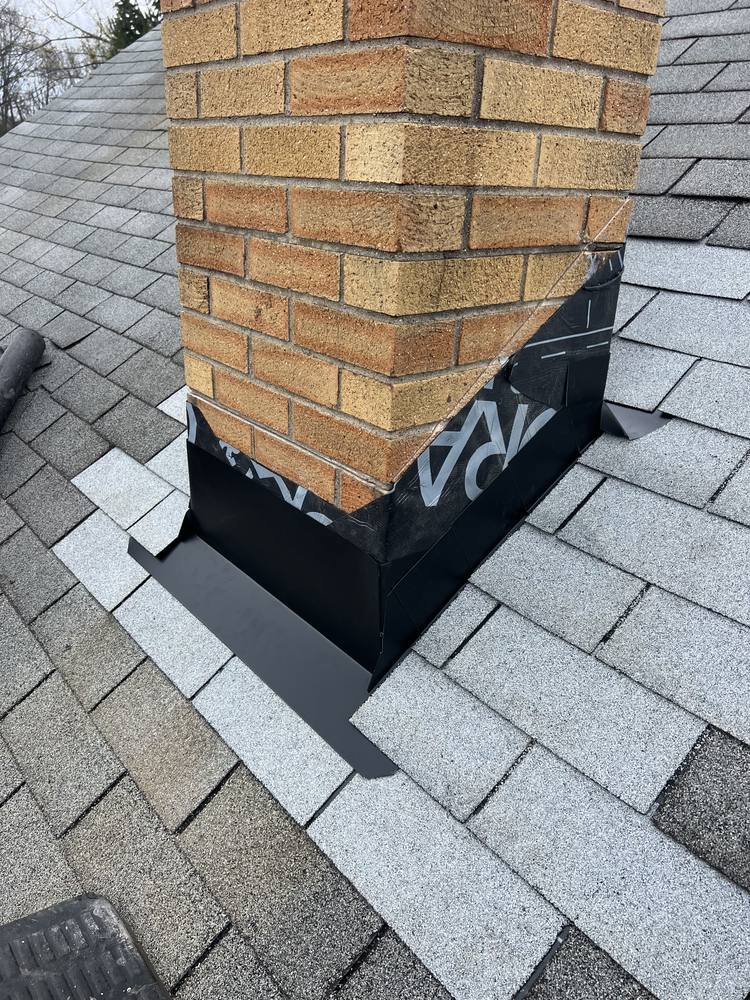
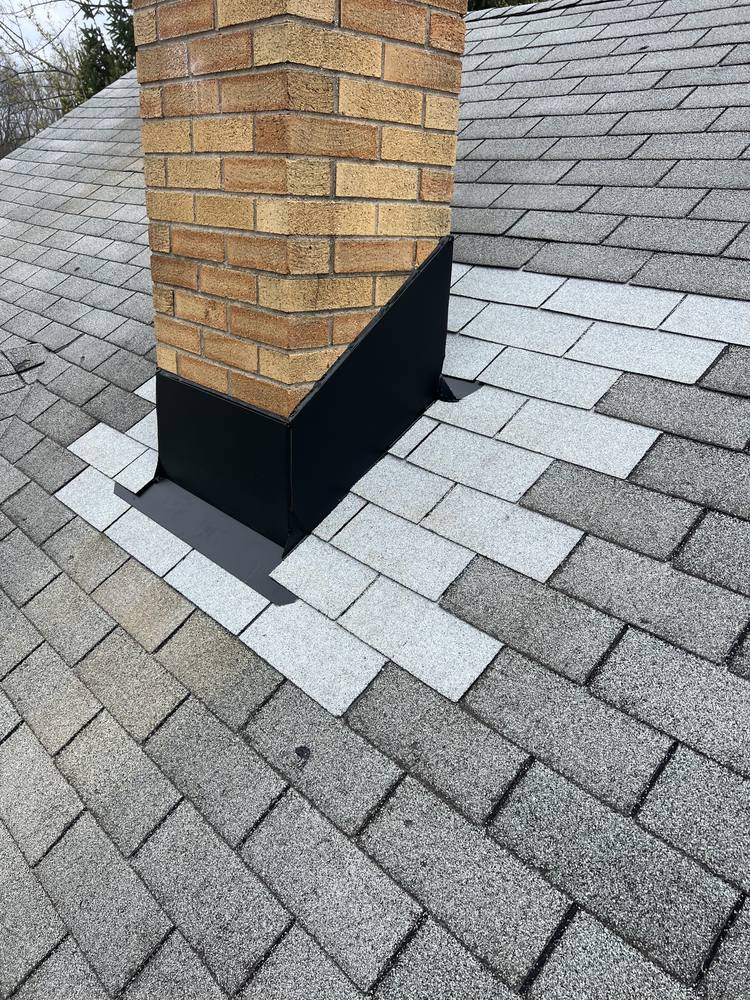
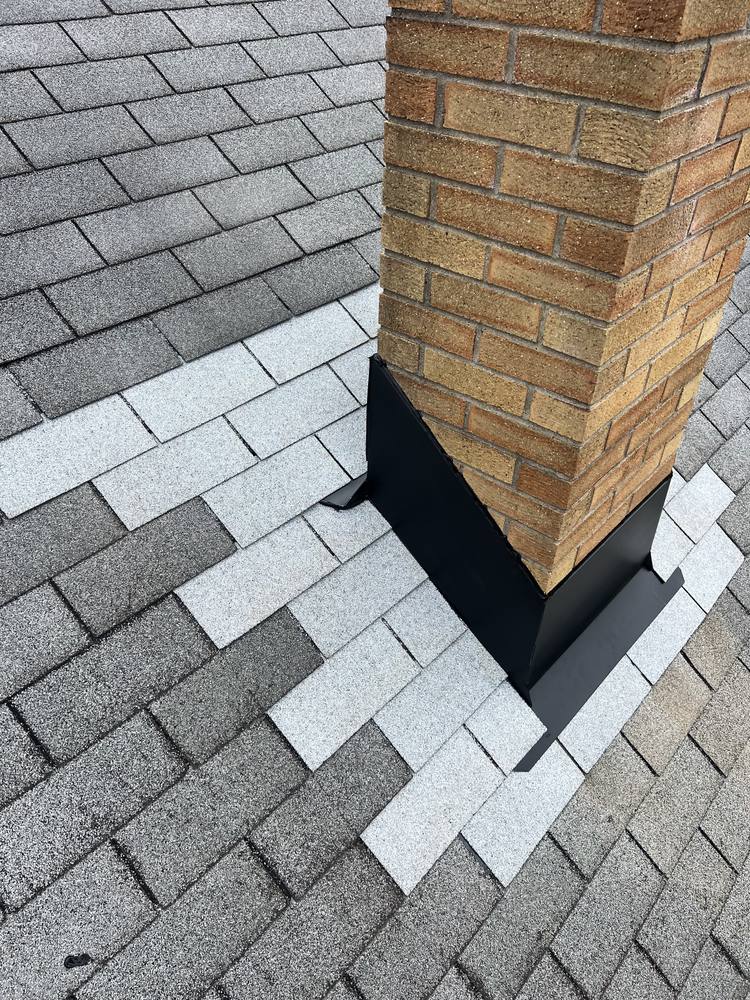
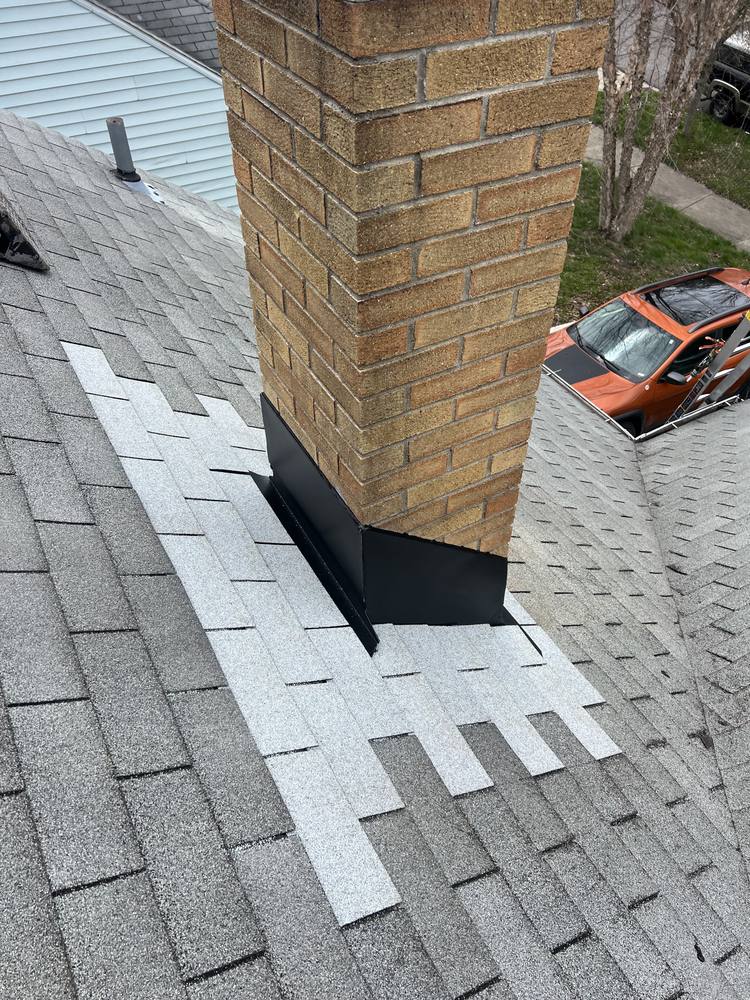
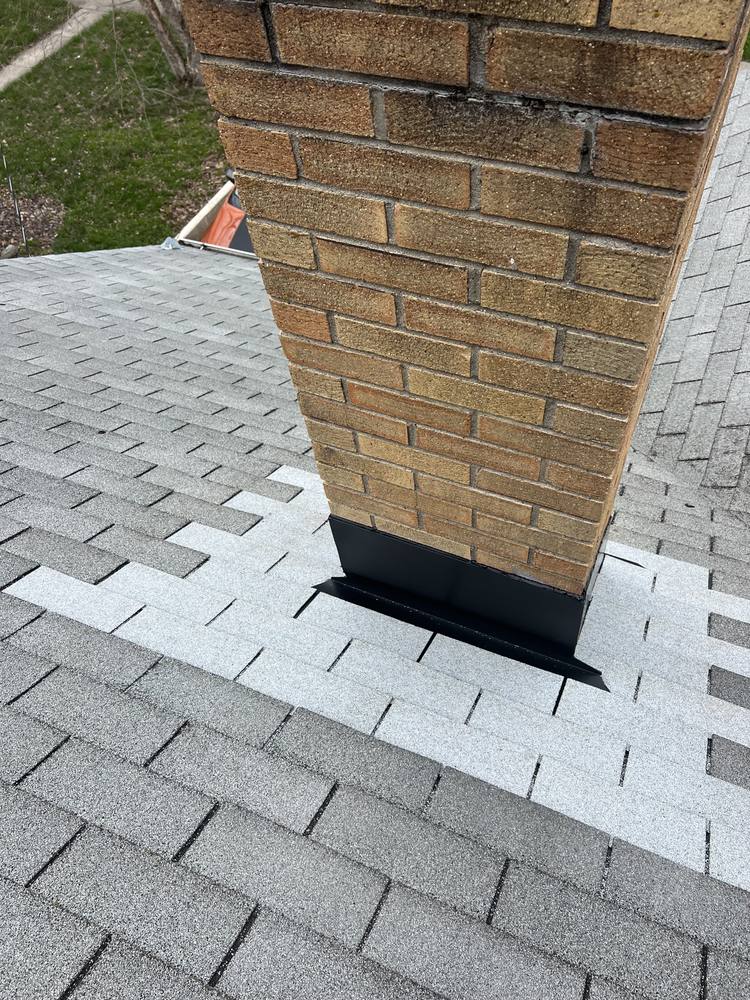
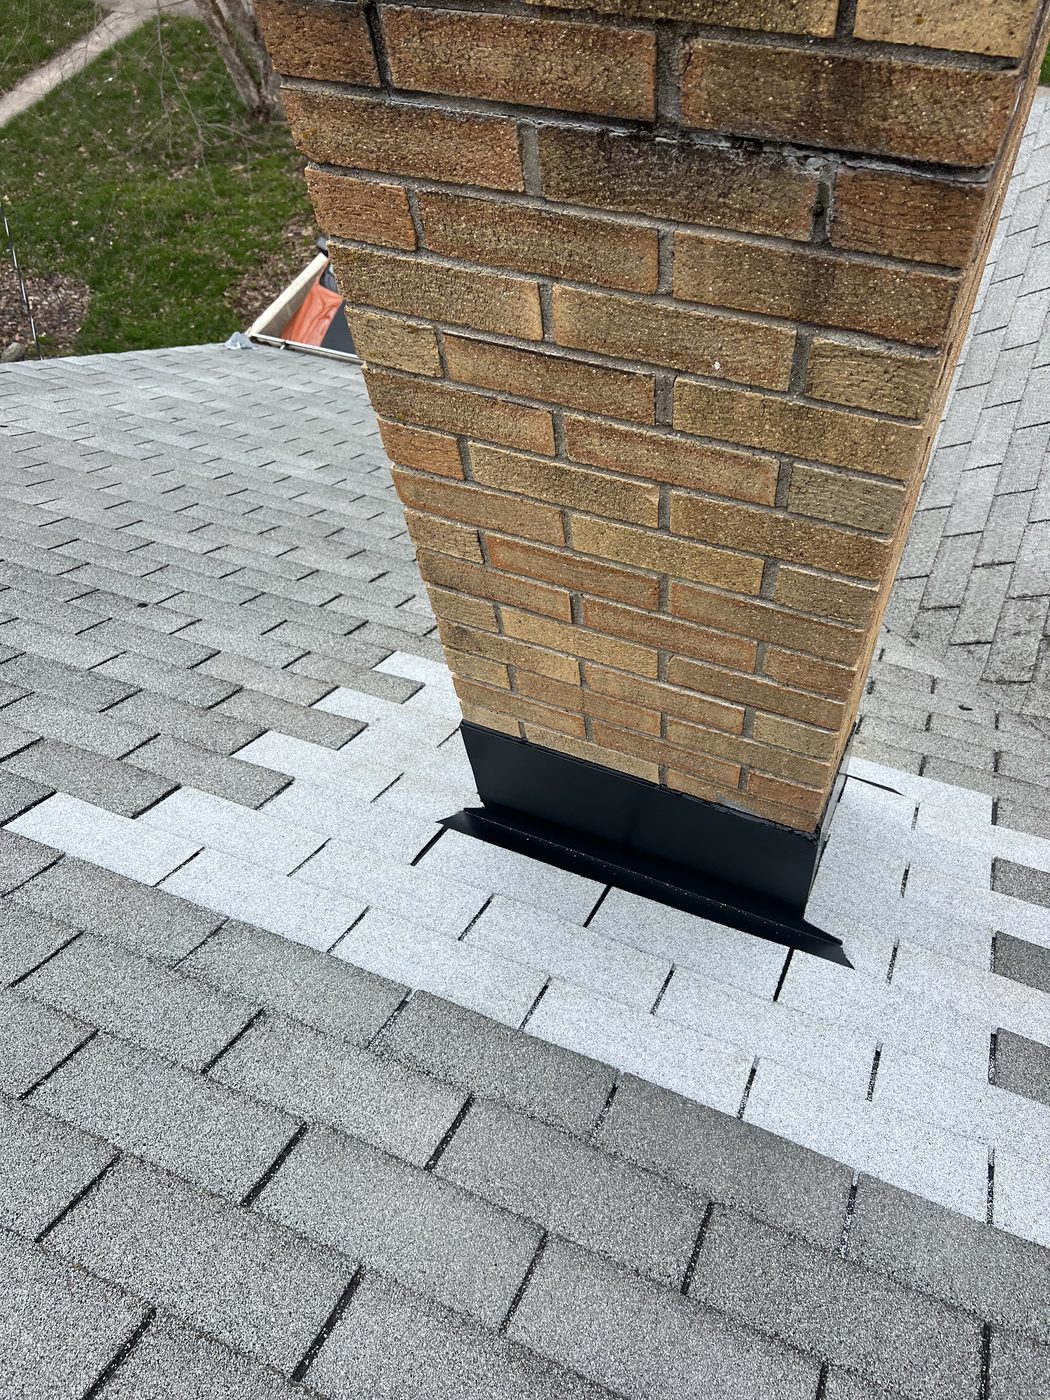
We did it the way it should have been done the first time. Everything came off, the flashing and the shingles around the chimney. We inspected the roof deck. Then we installed new ice and water shield, wrapped properly around the chimney and up the side walls, followed by new custom-bent flashing and new shingles.
One thing you'll notice in the photos: the new shingles don't match. We couldn't get a closer match at the time, and we told the homeowner that up front. They approved it before we installed a single shingle, because their plan is to replace the whole roof in about five years. A perfect color match on a five-year fix wasn't worth the wait or the money to them, and it wasn't our call to make. It was theirs.
All leaks stopped immediately. Ten-year warranty on the repair.
How This Chimney Flashing Rebuild Job Was Done
- 1The old flashing off, showing the bare deck and the tar that had been doing the sealing.
- 2Everything is taken back to clean deck and clean masonry — no new metal goes over old patchwork.
- 3Ice-and-water shield runs up the brick and out across the deck, forming the sealed base of the assembly.
- 4New step flashing is set piece by piece, each one lapped by the shingle course above it.
- 5The shingle courses are woven back in around the metal as the work comes up the chimney.
- 6Finished — a flashing assembly that directs water out onto the roof and keeps it there.